When creating web apps, we as developers are often tasked with recreating some of the features available in a desktop environment, in a web browser. Some cases of this are easier to accomplish than others, but when I was asked to implement "Shift + Click" functionality into one of the projects we were working on, I knew I was going to have to recreate one of those features that I've taken for granted for so many years, but have never actually thought about.
Turns out, it's not so bad
Let's start with a bit of HTML markup:
<ul id="container">
<li class="selectable">lorem</li>
<li class="selectable">ipsum</li>
<li class="selectable">dolor</li>
<li class="selectable">sit</li>We'll qualify our list items with a class of "selectable" so that we can make our JavaScript element agnostic and, thus, make it more reusable. We will also give our unordered list an id of "container" so that we can apply some CSS that will keep our code from highlighting our selections every time we try to shift + click.
Next, let's begin our JavaScript:
$(function() {
    var $lastSelected = [],
          container     = $('#container'),
          collection    = $('.selectable');

    container.on('click', '.selectable', function(e) {
        var that = $(this),
            $selected,
            direction;

        if (e.shiftKey){

             // Our shift + click logic will go here...

        } else {
            // Not a shift select, so we'll just mark the target item
            $lastSelected = that;
            collection.removeClass('lastSelected selected');
            that.addClass('lastSelected selected');
       }
    });
});
So, a couple of things are going on here. Firstly, we will define our container, which we will use to delegate our events. Next, we define our collection, which we've told jQuery to be any element with the "selectable" class located within our container element. The "$lastSelected" variable will be used within our "click" handler.
Now, we attach our "click" handler. Our click event will be attached, not to each selectable element, but the container of these elements. This is called "Event Delegation*" and by using this technique, we can really help performance in cases where we have a lot of selectable items (I mean, we could have hundreds or thousands, right?). Finally, we cache our jQuery object, check to see if the user is holding the Shift Key, and if they are not, we simply mark the target element as the "$lastSelected" element and give it both the "selected" and "lastSelected" classes.
Note: We are keeping track of our elements using CSS classes, but you can use whatever you want.
*you can learn about Event Delegation here
Let's Move on to Our Shift + Click code
    if (e.shiftKey){

            if ($lastSelected.length > 0) {

                if(that[0] == $lastSelected[0]) {
                    // The user has clicked on the same item, so do nothing.
                    // Remember, `that` is our event target
                    // You could also make this deselect everything except for this item
                    return false;
                }
                direction = that.nextAll('.lastSelected').length > 0 ? 'forward' : 'back';

                if ('forward' == direction) {
                    // Last selected is after the current selection
                    $selected = that.nextUntil($lastSelected, '.selectable');

                } else {
                    // Last selected is before the current selection
                    $selected = $lastSelected.nextUntil(that, '.selectable');
                }

                //Add and remove classes as necessary
                collection.removeClass('selected');
                $selected.addClass('selected');
                $lastSelected.addClass('selected');
                that.addClass('selected');

            } else {
                $lastSelected = that;
                // Mark our previously selected item
                that.addClass('lastSelected');
                collection.removeClass('selected');
                that.addClass('selected');
            }

    }
I hope that the above code is pretty self-explanatory, but let's go over the basics of what's happening.
First, if we have a "$lastSelected" element, we'll check to see if our event target is the same as "$lastSelected", and if it is, we'll just cancel the function (but you can do whatever you want). Next, since our target element was not the one previously selected, we'll find out the directional relationship between our new target element and the previously selected element (this lets us know if we need to move forward/back or up/down). Now, we capture all of the elements which should be selected based on the direction we just found. Note that we filter this selection by only elements with the "selectable" class applied to them. This allows flexibility in the HTML structure of your elements, as you can have other elements between the ones you'd like to be selectable.
Put it all together and what do you get? (....pizza)
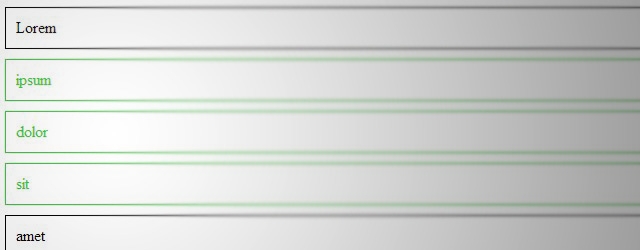
Together, with some simple CSS for our "selected" class, so that we can see our selections visually, we get the following result:
Here's the fiddle.
Note the following extra JavaScript in the above
// Disable selection highlighting
    container.attr('unselectable', 'on').css({
        '-moz-user-select':'none',
        '-o-user-select':'none',
        '-khtml-user-select':'none',
        '-webkit-user-select':'none',
        '-ms-user-select':'none',
        'user-select':'none'
    });
This code, when applied to our container, will disable selection highlighting for our container, so we won't be constantly highlighting our elements when we Shift + Click.
There's plenty of room for improvement and expansion of this script, like adding intuitive "CTRL/Command + Click" functionality, but I'll leave that for another day (or for you to figure out). Hope you enjoyed and that this helped you out in some way. Have a nice week!


